How to Price and Bid a Roofing Job
The roofing industry is facing a pricing problem.
When asked to bid a roofing job, 90% of contractors underbid the job and undercut their profits.
Why is underbidding so common? In many of these cases, the roofers underestimated their overhead. Instead of pricing by the time it takes to do the job, they simply priced by the number of squares. Then, tie everything off by filling out your estimate using a roof estimate template. You’ll blow your competitors out of the water in no time.
Another common mistake is to give unclear or unprofessional bids. If your client doesn’t understand exactly what you’re charging for or what value you’re bringing, they might haggle you down to a lower price or worse, go with a competitor.
If you’re unsure about your roofing business’ pricing strategies, chances are that you’re in the 90% that has underbid a roofing job.
The good news? You can learn how to price and bid roofing jobs and be among the 10% that know how to price for profit.
Here’s how.
Step 1: Get clear on the scope of work
Make sure you understand what the job entails by visiting the site, talking to the client, measuring and surveying the roof, and being aware of the building codes in your area.
Speak to your client
Speak directly with the client, either on the phone or in person. Ask as many questions as you need to go build a strong relationship: What kind of home is it? What are their expectations? What is their budget?
Clients may also specify what type of roof they want, such as tile or wood shingles. In that case, your job is simple—follow their recommendations. If not, you may need to make your own educated recommendations and include multiple price estimates and ranges for different materials.
Look up building codes
Certain building codes will restrict what materials you can use. For example, enclosed housing estates often dictate that you use certain materials and colors to ensure all houses are uniform.
Survey the roof
Regardless of what your clients think they want, carefully inspect the roof to identify damaged areas they don’t know about, the number and condition of valleys, unusual roof features and the state of the flashing.
Take photos and detailed notes of these areas. You can attach them to your client’s profile for future reference.
Step 2: Measure the roof
Measuring the roof helps you determine the number of squares to install for your largest material cost: your roofing material. Follow these 3 steps to calculate how many squares to install.
Note: In standard roofing terminology, 1 square = 100 square feet.
Calculate the number of ground-level squares
Take the external dimensions of the house and divide it by 100.
For example, if you’re working on a house that is 30 ft. x 60 ft., then the entire area is 1800 square feet (30*60). Divide that number by 100 to arrive at 18 ground-level squares.
This is just the flat area. Most homes are pitched, and you’ll have to account for that in the next step.
Determine the roof pitch
The roof pitch, or how steep it is, is expressed as a ratio.
A ratio of 4:13, for instance, means the roof rises 4 feet for every 13 feet of horizontal length. The roof pitch can either be low, medium, or high.
A low roof pitch has a ratio of 5:12 or lower, a medium roof pitches 6:12 to 9:12, and a high roof pitches 10:12 to 12:12.
For our example, let’s assume the roof pitch is 5:12.
Determine your roof pitch multiplier
The final step is to multiply the number of ground level squares by a pitch multiplier.
Use the roof pitch multiplier chart below to determine the correct number:
| Roof Pitch | Multiplier |
| 3:12 | 1.15 |
| 4:12 | 1.20 |
| 5:12 | 1.24 |
| 6:12 | 1.24 |
| 7:12 | 1.30 |
| 8:12 | 1.35 |
| 9:12 | 1.40 |
| 10:12 | 1.40 |
| 11:12 | 1.55 |
| 12:12 | 1.70 |
Continuing with our example, where the pitch is 5:12, we’ll multiply 18 squares by a pitch multiplier of 1.24, which gives us 22.32 squares. Next, we’ll round this up to 23 to account for any waste.
The final number of squares required for this job is 23.
Step 3: Estimate material cost
Once you have a firm grasp on what the job entails, it’s time to list the materials you need and calculate the total cost. Keep in mind that due to a shortage in materials, the cost of construction materials is increasing.
Although asphalt shingles are the most common roofing material, you also have the option of other roofing materials such as solar tiles, metal roofing, stone-coated steel, slate, rubber slate, and even green roofs with plants on them.
Regardless of what material you choose, ensure you contact your supplier for the cost per square foot. While exact prices for roofing material will differ between suppliers and the type of roofing material, expect to pay anywhere from $3.60 to $5.50 per square foot for asphalt shingles.
Let’s assume you’re installing asphalt shingles at the cost of $4.00 per square foot for the 23-square house in our example. Your total material cost is now $9,200.00 (2,300*$4.00).
Don’t forget to tally the cost of all your other materials: nails, flashing, underlayment, and vents. For our running example, let’s use a cost of $700 for all these materials, which brings your total material cost to $9,900.00 ($9,200.00 + $700)
Step 4: Estimate labor costs
With your material costs calculated, it’s time to estimate labor cost. You can calculate your total labor cost by following this process:
- Determine the labor hours. Estimate how many hours the job will take and multiply this figure by the number of employees on the job. This calculation will give you the number of labor-hours. For example, assuming it takes two people 40 hours to complete the job, your labor-hours will be 80.
- Work out your hourly labor cost. When calculating your hourly labor cost, consider both the hourly wage and extras like taxes and worker’s compensation. The average hourly rate for a roofer in the U.S. is $17.95. For our example, let’s add 20% for taxes and insurance, which brings the total hourly wage to $21.54.
- Calculate the total labor cost. Multiply the labor hours by the hourly wage for a total labor cost of $1,723.20
READ MORE: Roofer job description: how to write your own (with free template)
Step 5: Calculate your overhead costs
Your overhead costs include accounting, uniforms, office rent, insurance, and roofing tools, and operations software like Jobber. The price you charge for the roofing job must cover these overheads for your business to be profitable.
Here’s a four-step process to ensure you’re recouping overheads on every roofing job:
- Calculate your overhead cost for per week (let’s assume this number is $900.00)
- Calculate your weekly labor-hours (for example, 90)
- Divide the hours into the overhead costs for an hourly figure ($900/90=$10). This means that for every labour hour you need to charge $10 to cover your overhead costs.
- Multiply the hourly figure by the number of labor-hours for the current job to determine what to charge to recover your costs. For our example, we’ll multiply $10 by 80 hours to arrive at $800.
Step 6: Tally all roofing costs
Add up all your costs for a total roofing job cost:
- Material: $9,900.00
- Labor: $1,723.20
- Overhead: $800.00
- Total costs: $12,423.20
Step 7: Add your markup for desired profits
Until now, you’ve been estimating how much you’ll need to break even on the cost of doing the roofing job. But you’re not here to work for free.
The final step is to add your markup so you can be part of the 10% that knows how to turn a profit.
What is roofing markup?
Your markup is the amount you add to the cost of your services to realize a profit. Markup is usually expressed as a percentage. The formula is Profit/Cost*100.
The markup percentage you choose to add to your break-even cost price will depend on your desired profit margin. That is, how much profit you want to earn for this job. The formula to determine your margin is Profit/Sales*100.
A general guideline for pricing roofing jobs is to aim for a margin above the industry average of 6%.
How do you apply markup to your roofing bid?
In order to achieve your desired margins, you need to markup your break-even cost by a percentage greater than your margin. For our example, if you want a 13% margin, you’ll need to add a 15% markup.
This gives you a final price of $14,286.68 ($12,544.80*1.15) for the roofing job, and a profit of $1,863.48 ($14,426.52 – $12,423.20).
Step 8: Bid the roofing job
Arriving at an accurate price for your roofing jobs is half the battle won. You now need to create a professional bid to convince customers you’re the best person for the job.
What is a roofing bid?
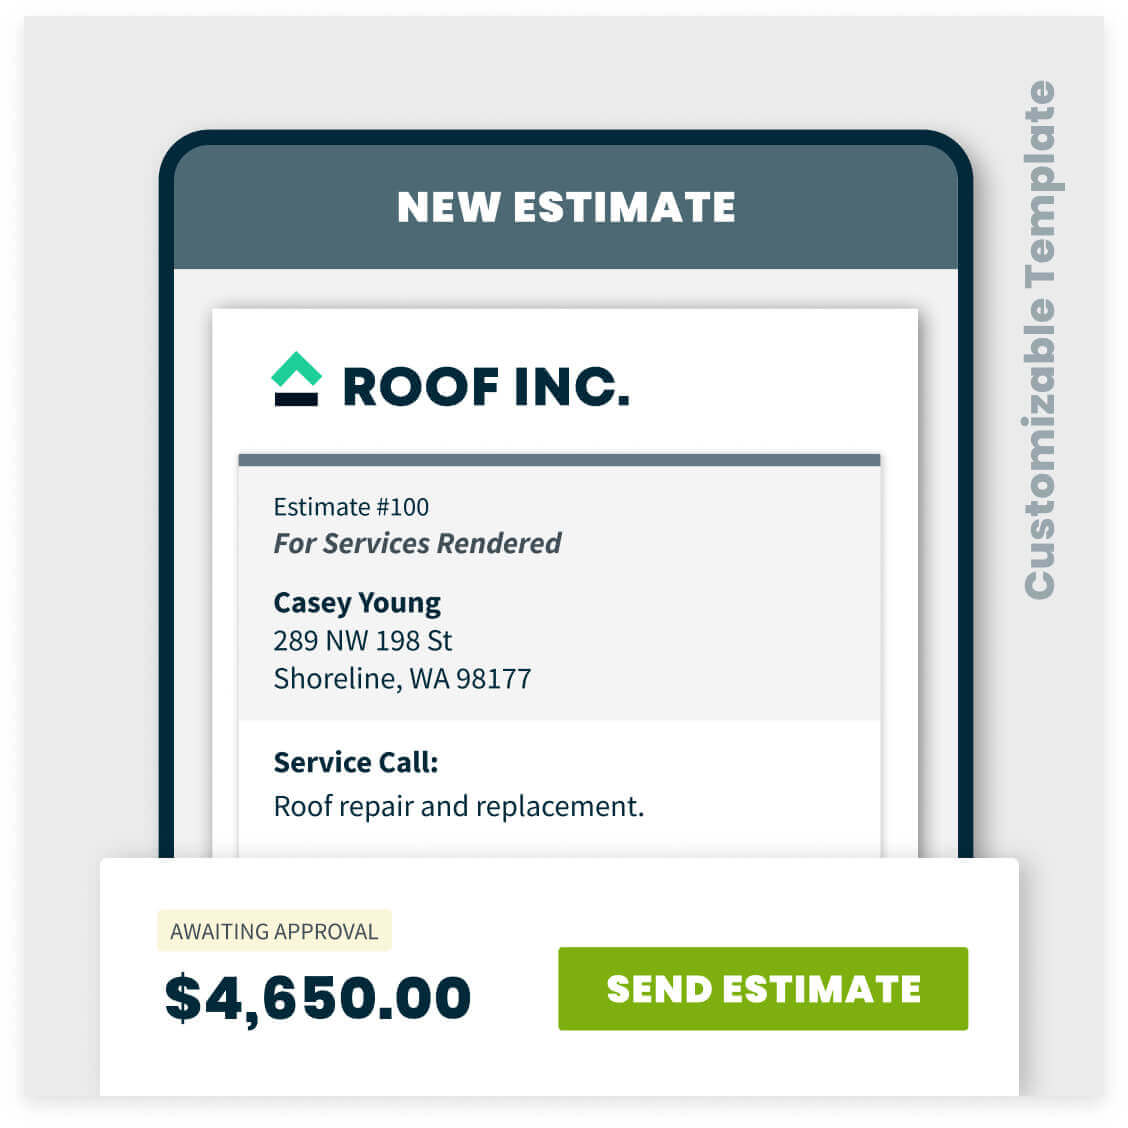
A roofing bid, also known as a quote, is a professional document that shows your client the cost and pricing breakdown of their roofing project before they hire you.
Roofing quotes include the services your company will provide your client’s information, how much each service will cost, additional service notes, and important terms and conditions.
Quotes must be approved by the client, and cannot change once agreed upon between the service provider and the customer.
What to include in your roofing bid
When compiling your bid, include the following crucial elements:
- A breakdown of your services, materials, and costs
- Your contact information so clients can contact you if they have questions
- Your clients’ name and contact information
- Your roofing business name and logo
- Quote expiration date
- Deposit required before starting the roofing job (optional)
Find out everything you need to include and how to put together the perfect service quote here, or use our free roofing estimate template:
How to differentiate your roofing bid so you can win more jobs
Don’t forget to differentiate your bid from the competition by doing the following:
- Include photos of the roof and problem areas and a note on how you plan to fix the problem. The idea here is to clearly present the problem and position your business as the one with the solution. Jobber lets you include line item images in your quotes to help you stand out. No more emailed attachments.
- Mention if there are any warranties on materials
- Show proof that your roofing business is licensed and insured
- Incorporate testimonials that act as social proof and tell the client, “Hey, this business is the business for the job.”
- Frame the cost of the roofing job as an investment. Yes, instead of using the word price or cost literally use the word “investment.”
- Send the bid via email or text message so that your clients can easily find it. Paper bids are easy to misplace or mix up with other documents.
- Always, always follow-up after sending the quote. Many quotes are lost simply because the client forgot to got busy.
You can create your bid using Excel or Word. But these two methods are time-consuming and prone to error. That’s why you’re probably better off using quoting software such as Jobber.
FREE TOOL: Try our free roofing receipt template
Create a winning roofing bid with Jobber
Jobber not only saves you time and minimizes human error, but it also lets you:
- Build professional roofing bids in no time
- Manage all your roofing quotes centrally
- Upsell services with optional add-ons and packages
- Invite clients to approve bids online in one click
- Easily accept deposits, so you’re never out of pocket
- Send bids to your clients via email or text message
- Schedule on-site assessments
- Quickly see the status of all your bids
- Attach bids to client profiles so you can track bids, invoices, and visit history in one click
- Capture e-signatures if your roofing projects require them
- Attach photos and videos to your quotes to show clients what you’re talking about, help you achieve greater clarity on the scope of work, and stand out from the competition
- Send automatic quote follow-ups so you can win more bids with less effort.